

What does OSV-Scanner do?
OSV-Scanner is Google’s open-source tool for matching identified components against the OSV vulnerability database. It can use supported dependency and lockfiles as well as software bills of materials, known as SBOMs. An SBOM describes the components in a piece of software.
Results identify matches with known security advisories. They are neither proof of exploitation nor an exhaustive assessment of every flaw in your own code. Coverage depends on the ecosystems, formats and information the tool recognises.
Run an initial scan with OSV-Scanner V2
Install the tool from its official releases, then open a terminal in the project directory. The following command recursively searches the current directory and its subdirectories for supported files:
osv-scanner scan source -r .The -r option means recursive. The dot denotes the current directory: check your location before starting the scan. You can also explicitly target a supported lockfile, for example:
osv-scanner scan source --lockfile=package-lock.jsonBy default, component information may be sent to vulnerability lookup services. For projects with confidentiality requirements, review the documentation on data exchanges and offline mode before choosing your configuration.
Remediation: turn a finding into a verified fix
- Understand: open the linked advisory and check the component, detected version, affected versions and exploitation conditions.
- Prioritise: consider service exposure, component usage and possible consequences. A severity score does not replace that context.
- Fix: apply the appropriate update, update lockfiles and test that the application works.
- Verify: rescan after making changes and check that the fixed artefact has actually been deployed to the relevant environment.
Useful follow-up
Record the scan date, scope and decision for each finding. A clean result is not a guarantee that no vulnerability exists. A repository scan also does not establish that every server runs the same version.
How dMessage helps: inform teams when they need it
If remediation requires downtime or user action, dMessage can display instructions on targeted Windows workstations: save work, close an application or wait for confirmation that service has resumed. State the affected service, time window and support contact.
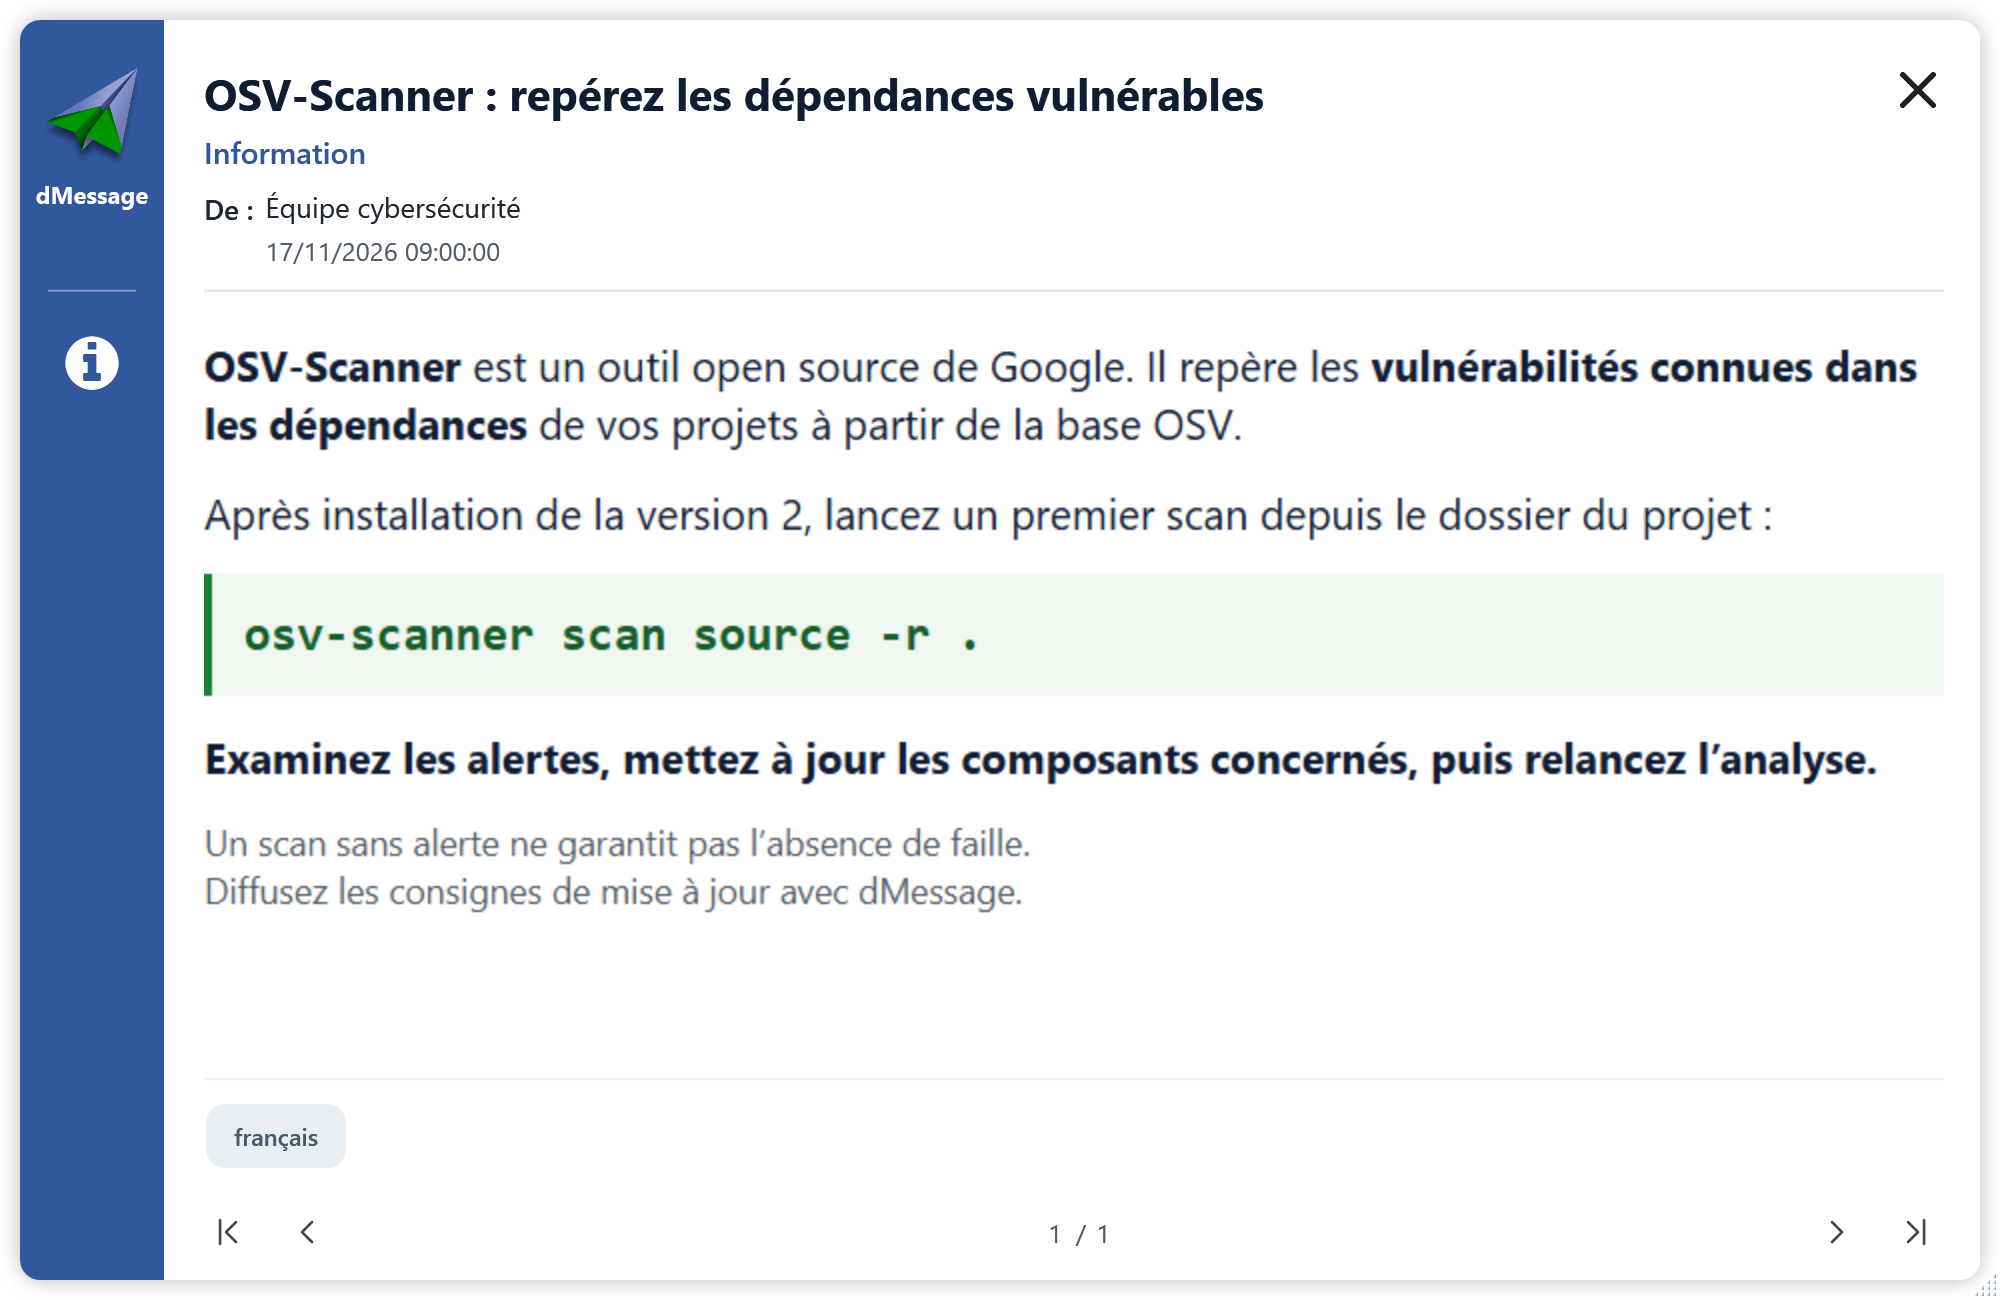
OSV-Scanner identifies technical matches; dMessage delivers instructions to the people affected. Technical teams remain responsible for choosing fixes, testing and deployment.
Sources and documentation
- Google: official OSV-Scanner overview
- OSV-Scanner: installation
- OSV-Scanner V2: project and lockfile scanning
- Official repository: data sources and privacy
- OSV-Scanner: offline operation
Cyber awareness, directly on screen
Turn technical findings into clear instructions
Notify teams about maintenance and announce service recovery directly on their Windows workstations. Discover dMessage with a free 30-day trial.